
HOW TO SET UP A CANISTER FILTER REEF TANK
How to set up a canister filter reef tank
I wanted to set up a saltwater aquarium for more than a decade, but I was always too scared to get started because of all the stories I read about the cost and how complicated it is. However, I recently took the leap and set up a reef tank using a canister filter. There are a lot of people who will say this is a disaster waiting to happen, but I’ve actually had a super simple experience that’s not any harder than keeping a traditional freshwater aquascape. As for costs, it is a little more expensive than a freshwater aquarium, but nowhere near as bad as you’d think—especially if you know how to source coral. But we’ll cover that later in the guide.
how to SET UP A REEF TANK with a canister filter
QUICK LIST
Filter
Light
ATO Unit
Wave Maker
Lilly Pipes
Heater
Leveling Mat
White Background (Optional)
Sand
Rock
Salt
Refractometer
Step 1: Choose the Right Tank Size
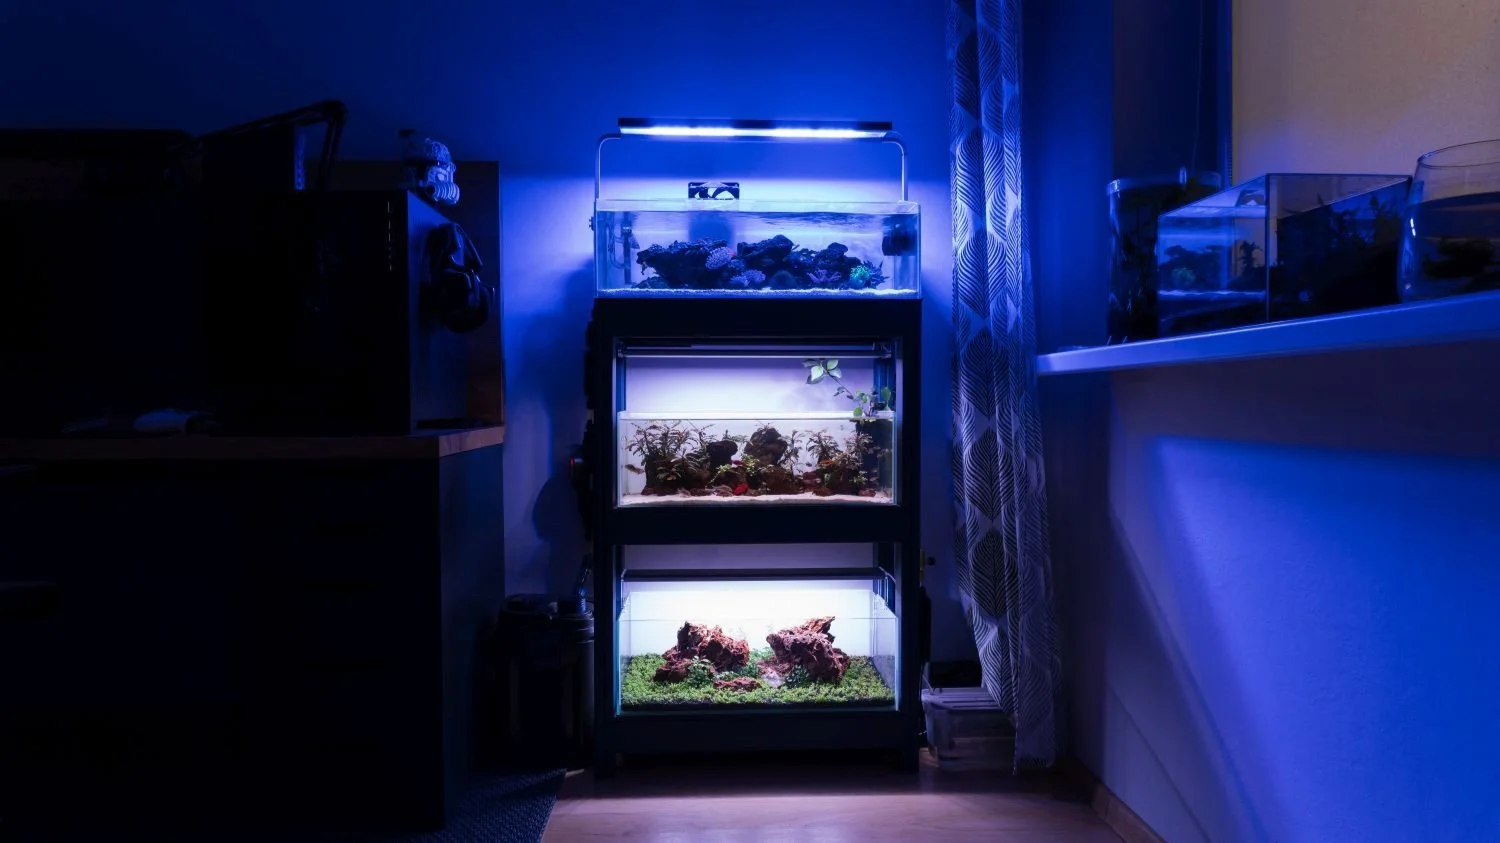
This part is kind of personal and will depend on your budget, but there are plenty of options. I started with a 50-liter (13-gallon) tank, which I find is perfect. However, you can realistically start with anything between 30 and 100 liters. I wouldn’t recommend going any smaller or larger than that, as your workload will increase. Smaller tanks are more difficult to keep stable, and larger tanks just cost more to set up and maintain.
Don’t Forget: A levelling mat under your tank and if you want to you can add a background. Black is the easiest for a reef tank.
You’ll need a lid: Make sure you invest in a good tight-fitting lid as well. Most reef fish are jumpers and the last thing you want is an expensive beautiful fish turning into fish jerky on the floor.
Step 2: Select the Proper Lighting
Lighting is one of the most important aspects of a reef environment, so you should allocate a decent portion of your budget to it. I started with a Fluval Sea Marine 3.0 Nano light, which worked quite well for the price. Though there are tons of other lights available online, you can even use standard freshwater aquarium lights if you want, but they will limit your coral options. However, I highly suggest starting with easy corals first anyway. We’ll cover that further down.
Why it Matters: High-quality lighting helps corals thrive by mimicking natural sunlight.

Using a canister filter for a free tank
Step 3: Pick a Canister Filter
While any canister filter will do the trick, there are a couple of things that will make your life much easier. I started with a SunSun 302, which worked great, but I ended up switching to an Oase Biomaster 250 Thermo. The main reason for this was that it has a prefilter that you can quickly take out and clean without having to pull your entire filter apart. It also has a built-in heater, which saves space in your tank.
Pro Tip: The flow rate may drop when you add media, so choose a filter with more capacity than your tank needs.
For media, I suggest removing all of the filter pads and replacing them with ceramic bio rings, live rock, or some reef rock. Your prefilter will catch all of the particles. Don’t pack it too full—just a nice amount for each of the trays.
Inflow and Outflow pipes: I decided to use glass lily pipes which work well and look great but they get dirty pretty fast so you might want to consider sticking with black ones. Unless you don’t mind cleaning them well at least once per month.
INTERESTING NOTE: When I first set up this tank nearly a year ago, a lot of people said that using a canister filter would be a nightmare and that I would have problems with nitrates and phosphates. The exact term was calling the canister filter a “Nitrate Factory.” Hilariously, so far I haven’t had a single issue with high nitrates or nutrients. I actually have the opposite problem—I don’t have enough of either, so I’m having to dose NO3 and PO4 weekly to keep everything balanced. I can also say that I’ve only opened the Oase Biomaster once in over six months, just because I was curious how it looked inside. After checking, I didn’t even bother cleaning it.

Oase BioMaster 250 for a reef tank
Step 4: Install an Auto Top-Off (ATO) System
While it isn’t 100% required, I highly suggest getting an auto top-off (ATO) unit. This will save you a lot of work and help maintain the right water level and salinity. Evaporation affects salinity levels; as water evaporates, the salt is left behind, causing salinity to slowly increase. I’m using an FZone ATO unit—it’s fairly inexpensive and works well, though there are plenty of options available. An ATO will automatically top up your tank with water as soon as it falls below a certain level. Just make sure you don’t forget to fill up your reservoir with fresh water (not saltwater), or you’ll increase the salinity too much.
Why it’s Useful: An ATO keeps salinity stable by automatically replacing evaporated water, making tank maintenance easier.

The little green sensor for an ATO
Step 5: Add a Wavemaker for Water Circulation
To maintain proper water flow, you'll need a wavemaker. Again there are a million different options you can choose from I started with the Jebao SCP 70. It’s powerful, with randomized flow options and isn’t super expensive but it was a little too powerful for my 50 liter shallow tank. So I switched to a Hygger HG 951. This works a lot better in my shallow tank and will be perfect in any tank around 50 liters (13 gallons). When you add your wave making you’ll probably end up having to place it on the opposite end as your filter. However, I suggest playing around with placement until you get the flow nice and random. Random is best!
Tip: For a shallow tank, use the lower settings to avoid disturbing the sand.

The Jebao SCP70 waver maker (black device on the left)
Step 6: Add a Heater for Stable Temperatures
You’ll also need a heater and I highly suggest having 2 one as a backup. I’m using a SunSun E300 inline heater as my primary heater and the heater inside my canister filter is the backup. I have the primary heater set to 25.5c and the backup set to 24c. The secondary heater will only turn on if the primary heater breaks. Which is why a 1c difference is required.
Why it’s Important: Keeping the temperature stable prevents stress on marine life, particularly corals and invertebrates. If tank temperatures fall too low everything in your tank will die quite quickly.
Step 7: Choose and Prepare Your Substrate
While a substrate isn’t required and you can go with a glass bottom without any issues I find it doesn’t look very attractive. There are plenty of different sands available so find one that you like the look of and roll with it. I ended up using some very basic aragonite sand is a great choice.
Tip: Read the back of the sand before you use it. Some will suggest a good rinse before adding it to the tank to reduce dust and cloudiness in the water. Others are ready to go!

Adding sand to my canister filter reef tank
Step 8: Create Your Rock Hardscape
The hardscape forms the foundation of your reef ecosystem and this is one of the most fun parts about setting up a tank. As with everything else, there are a lot of different options. I went with ARKA Reef Rock which is a cheaper option. But if you don’t mind spending a little extra live rock is a better option as it will help cycle your tank a lot quicker.
Pro Tip: Spend time fine-tuning your rock placement for both aesthetics and practicality, allowing room for water flow and coral placement. Make sure you add lots of caves as well as your animals will really appreciate it. Build it up in layers to because some corals will want to be higher and others will want to be lower in the tank.

Shallow reef tank hardscape ideas
Step 9: Fill Your Tank with RO Water and Add Salt
Now that you have your hardscape and basic set-up ready, you can make your saltwater. Simply read the requirements on the back of the salt brand you are using and mix up a batch of salt. Each brand differs a little so follow the instructions closely.
For the best, most stable results it’s best to pre-heat your water to 25c | 78f before adding your salt. To mix it in really well just drop a small pump or wave maker into your mixing bucket and leave it for 24 hours for the best results. However, I’ve mixed and used it within an hour without any issues. There are some really good video guides for different methods you can use on YouTube as well if you would like further details.
Step 10: Begin the Cycling Process
Now that your tank is set up, it's time to begin the cycling process. This involves establishing a colony of beneficial bacteria that will help break down waste in the tank. Cycling can take several weeks, so be patient. You can speed up the process by using products like bacterial supplements. This can take 6-8 weeks so don’t rush it.
Tip: The tank will look a bit cloudy and "ugly" during the cycle, but that’s normal. After cycling, your tank will be ready for livestock.
Step 11: Add Livestock
Once your tank is fully cycled you can add your chosen animals just make sure you research them really well before adding them to your new tank. Some species can be a little tricky to keep while others are easy but should be added at a later date.
I highly suggest starting with really easy tough corals first. Things like Xenia, GSP (Green Star Polyp) Anthelia, Leathers, etc. These corals aren’t all that fussy and are fairly forgiving while you're starting out.
Where to find coral for cheap? I’ve had a lot of great experiences getting cheap coral frags from other local hobbyists. They are usually 1/10th of the prices shops charge and quite often you can even find people giving away certain things. The best places to look are local Facebook Groups. And websites like Gumtree or OLX here in Poland. I’m sure there’s something similar where you live where people sell and swap coral.

Yellow Clown Goby (Left) | Lawnmower Blenny (Right)
IMPORTANT: Don’t add any kind of anemone to your tank for the first 6 to 8 months. They hate new tanks and will often die so it’s best to wait until your tank is 6 months to a year old. Things are way more stable and less prone to big fluctuations. It’s also best to start with a nice big anemone, small ones are more delicate.
HITCHHIKERS: Most saltwater tanks, including mine, get surprise "hitchhikers." Some are pests and others are just annoying, though it’s always an experience to learn something new. Some of the creatures that have shown up in my tanks include:
Feather duster worms (harmless filter feeders)
Asterina starfish (pests to some but beneficial if you're considering Harlequin shrimp)
Micro jellyfish (tiny and harmless)
Brittle stars and various snails
DON’T WANT CORAL? TRY A CANISTER FILTER MACRO ALGAE TANK Instead.
An even easier option if you want to keep marine critters is to set up a macro algae tank instead. I’ve got a full guide and video linked below if that’s more your thing! How to Set up a Macro Algae Tank - Step-by-Step Tutorial.
Here’s How My Canister Filter Reef tank is Looking after 10 months
So after just over nine months, this is what my canister filter reef tank looks like. I just cleaned everything so it’s looking great. Early on I had some issues with dinos and cyanobacteria because the tank was running way too clean. I’ve got a guide on how I dealt with that here.
But after starting a dosing regime things have been cruising along nicely. I’ve got about 20 different types of soft coral in the tank. Along with a pair of clown fish, a pistol shrimp and black ray goby pair, 2 pom pom crabs, countless snails, a cleaner shrimp and a fire shrimp.
I won’t be adding any more fish as my two clownfish are super aggressive and will murder any other fish that enters the tank. They quite often attack my hand when I try to clean the glass. You can check out my full video series on this tank here. I also have a lid on this tank that stays on all the time, though I don’t have it on for the picture. Without a lid, fish will jump out. Personally, I wouldn’t have a reef tank without a lid, it’s just too risky.

My canister filter reef tank about 9 months after setting it up. The fan is to keep it cool during summer.